Monday, November 19, 2012

Amazing Dinner Rolls for Thaksigivng


Thank you to OurBestBites for this amazing dinner roll recipe. 

Ready? Awesome. You’ll need whole milk, all-purpose flour, yeast, sugar, salt, butter, and eggs. Nothing fancy.

Combine milk, 1/2 c. sugar, butter, and salt in a medium saucepan. Heat over medium heat until butter melts. It’s salty. It’s sweet. Yum.
Remove from heat. Allow to cool to lukewarm. I usually rub some ice cubes along the sides of the pan or pop the entire pan in a sink full of ice cubes to cool the mixture down because this step can take forever. This step is really important because if the mixture is too hot, it will kill the yeast.

While the milk mixture is cooling, dissolve the yeast and 1 Tbsp. sugar in warm water. Let stand about 10 minutes. If the yeast hasn’t bubbled, you’ll need to repeat this step–moving on with yeast that hasn’t been activated properly will only end in heartache for you and hate mail for us.
In a large mixing bowl, combine 3 c. flour and milk mixture. Beat on low for 30 seconds, scraping sides of bowl constantly. Add yeast mixture and beat on high for 3 minutes.
Add beaten eggs. Why should you beat your eggs first? Same reason you should combine your dry ingredients before adding them to moist ingredients when making cookies and cakes–it ensures everything is well-mixed and can be evenly-distributed through your dough or batter. If you add the whole eggs, your dough may not be as consistent.
Stir in as much remaining flour as needed to make a soft dough. This dough should be very soft–it will be coming away from the sides of the bowl, but it will still stick to your finger when you touch it. Don’t worry, it will firm up during the rising process. Part of what makes these rolls so good is that they’re so soft and light; if you add too much flour, they will be heavy and dense. Place the bowl in a warm place and cover with a clean towel; allow to rise 1 hour.

See that ghostly reflection in the bowl?? Oh, wait, that’s me…
Punch down dough. Lightly flour your work surface and turn dough out onto surface. Divide in half.
Spray 2 9×13 glass pans with cooking spray. Roll first portion of dough into a rectangle and then cut it into 12 equal-sized pieces. I like to use a pizza cutter because it has a blade on each side, so it cuts right through dough without sticking to the blade. This dough should be very easy to work with, almost like playdough. Shape each piece into a ball and place in prepared pan. Repeat with remaining dough in the second pan.
Cover with a clean cloth and allow to rise in a warm place for about 30 minutes. When dough has about 15-20 minutes to go (depending on your oven), preheat oven to 375.
Bake for 15-18 minutes or until golden-brown.
When done, remove from oven. Rub a stick of cold butter over the tops of the rolls. You must now eat one. Now. While it’s hot.
Then pop the rest into a bowl and no one will ever know that you cheated.

Homemade Twinkies

Since we no longer can buy these anymore, let's make some that are homemade.  :0 )
 
Time: 1 hour 40 minutes
 
FOR THE CAKES:
Nonstick cooking spray or vegetable oil
60 grams ( 1/2 cup) cake flour
30 grams ( 1/4 cup) all-purpose flour
1 teaspoon baking powder
1/4 teaspoon salt
2 tablespoons milk
4 tablespoons unsalted butter
1/2 teaspoon vanilla extract
5 large eggs at room temperature, separated
12 tablespoons sugar
1/4 teaspoon cream of tartar
 
FOR THE FILLING:
6 tablespoons unsalted butter, at room temperature
165 grams (1 1/2 cups) confectioners’ sugar
3/4 cup Marshmallow Fluff
2 tablespoons heavy cream.
 
1. For the cakes: Heat the oven to 350 degrees and adjust the oven rack to the lower-middle position.
2. To make single-use Twinkie molds, cut 12 pieces of aluminum foil 12 inches wide by 14 inches long. Fold each piece of foil in half lengthwise, then fold it in half again to create a rectangle that’s about 6 inches long and 7 inches wide. Repeat to make a dozen rectangles.
3. Place one sheet of folded foil on a work surface with a standard-size spice jar on its side in the center of the foil. Bring the long sides of the foil up around the jar, folding the sides and ends as necessary to make a tight trough-shape from which the jar can be removed. Repeat to make 12 foil molds. Spray generously with nonstick spray or coat with vegetable oil. Place the molds on a baking sheet.
4. In a mixing bowl, whisk together the cake flour, all-purpose flour, baking powder and salt. In a small saucepan over low heat, heat the milk and butter until the butter melts. Remove from the heat and add the vanilla. Cover to keep warm.
5. Using a standing mixer, beat the egg whites on high speed until foamy. Gradually add 6 tablespoons of the sugar and the cream of tartar and continue to beat until the whites reach soft peaks.
6. Transfer the beaten egg whites to a large bowl and add the egg yolks to the standing mixer bowl (there’s no need to clean the bowl). Beat the egg yolks with the remaining 6 tablespoons sugar on medium-high speed until the mixture is very thick and a pale lemon color, about 5 minutes. Add the beaten egg whites to the yolks, but do not mix.
7. Sprinkle the flour mixture over the egg whites and then mix everything on low speed for just 10 seconds. Remove the bowl from the mixer, make a well in one side of the batter, and pour the melted butter mixture into the bowl. Fold gently with a large rubber spatula until the batter shows no trace of flour and the whites and yolks are evenly mixed, about 8 strokes.
8. Immediately scrape the batter into the prepared molds, filling each with about
3/4 inch of batter. Bake until the cake tops are light brown and feel firm and spring back when touched, 13 to 15 minutes. Transfer the pan containing the molds to a wire rack and allow the cakes to cool in the molds.
9. For the filling: Using a mixer, beat together the butter, confectioners’ sugar and Marshmallow Fluff. Add the cream and beat just until smooth.
10. Just before filling the cakes, remove them from the foil. Using the end of a chopstick, poke three holes in the bottom of each cake. Wiggle the tip of the chopstick to make room for the filling. Transfer the frosting to a pastry bag fitted with a 1/4-inch round tip. Pipe frosting into the holes in each cake, taking care not to overfill, until it gently expands. Unlike real Twinkies, these won’t last indefinitely. They’re best served still slightly warm.
 
Yield: 12 homemade Twinkies.

Thursday, November 15, 2012

Butternut Squash & Kale Soup

Autumn = squash season. I love eating butternut squash soup for lunch or dinner. Incredibly satisfying, comforting, hearty, and healthy. All the right ingredients that are guaranteed to make you feel good.

Ingredients:
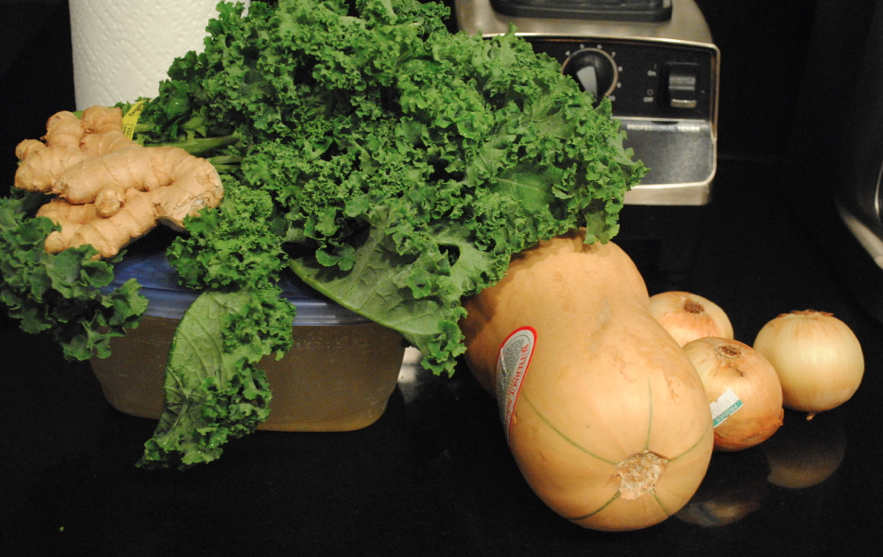
* 1 large butternut squash
* 3 small onions or 1.5 large onions (yellow or white)
* 1 lb. kale
* 1-2 tablespoons of olive oil
* 1 twig of ginger
* 4 cups of chicken stock (homemade or store bought)
* Salt and pepper to taste

ingredients
Simple ingredients that make a hearty and tasty soup.


Directions:
* Basically, you peel, chop, boil, blend, and voila!
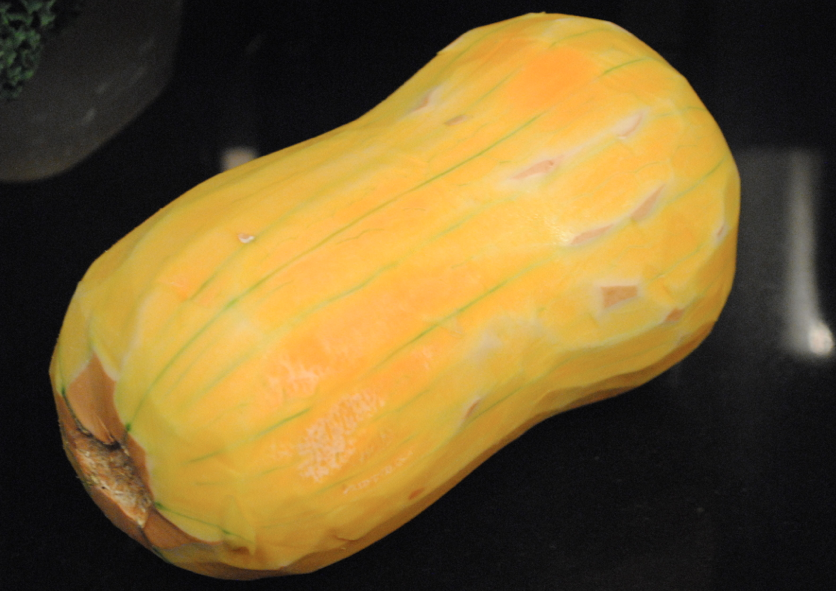
peel
Peel the squash (with peeler).
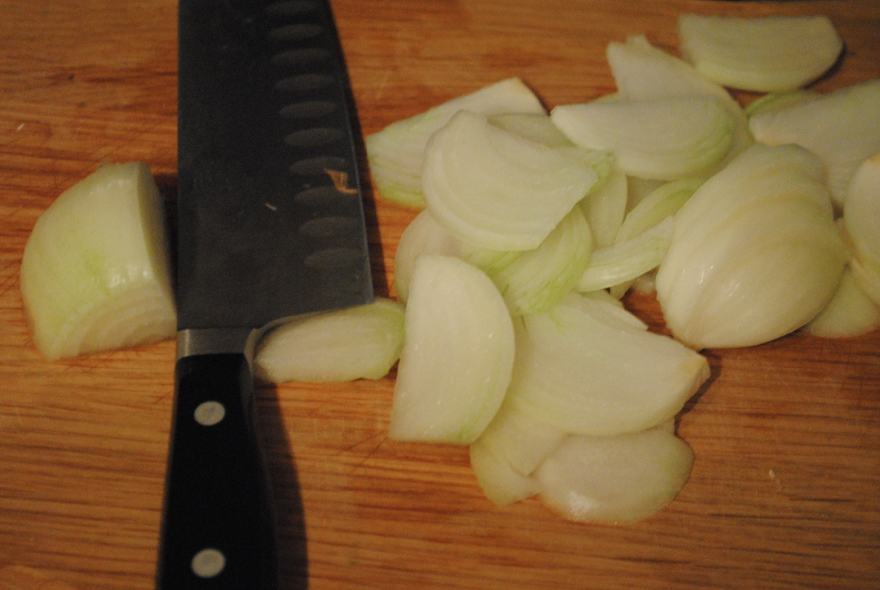
chop onions
Chop the onions. You don't have to worry about the size of the pieces because you blend everything together.
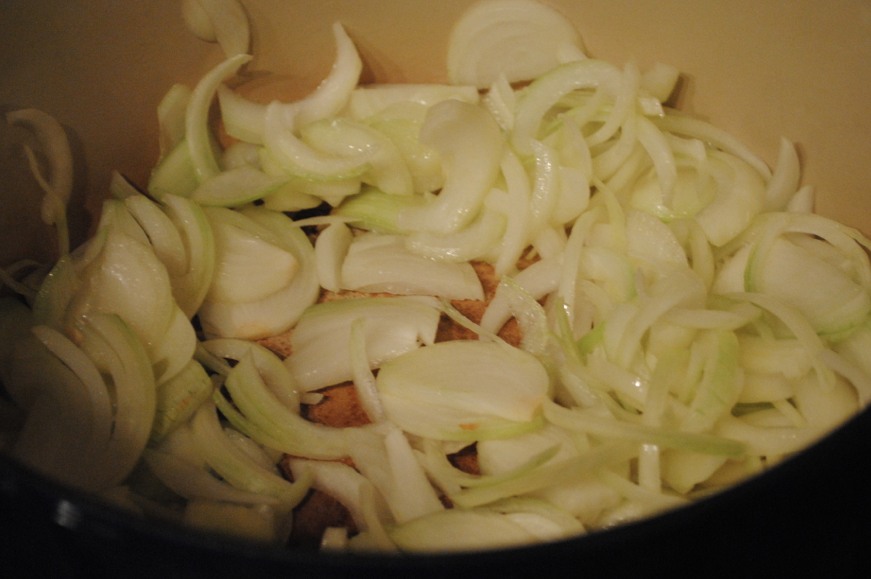
sautee
Pour olive oil into the pot, and sautee the onions until clear. Add a couple pinches of salt.
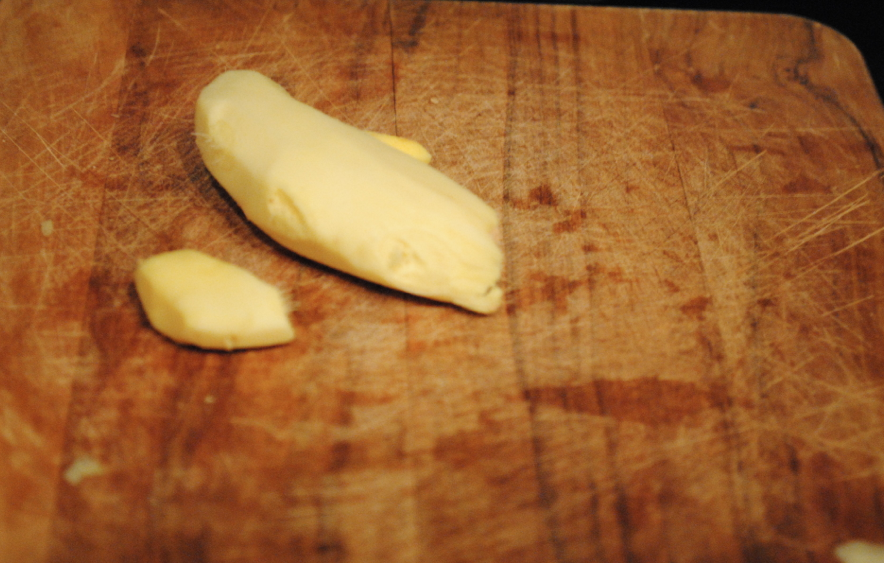
ginger
Peel the ginger and chop into smaller pieces.
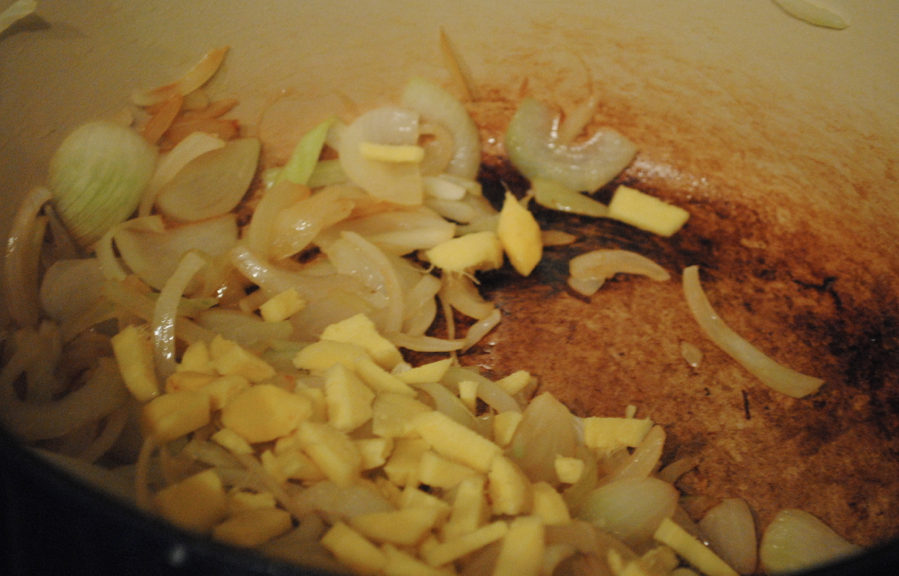
ginger and onion
Put the ginger in with the onion and mix around.
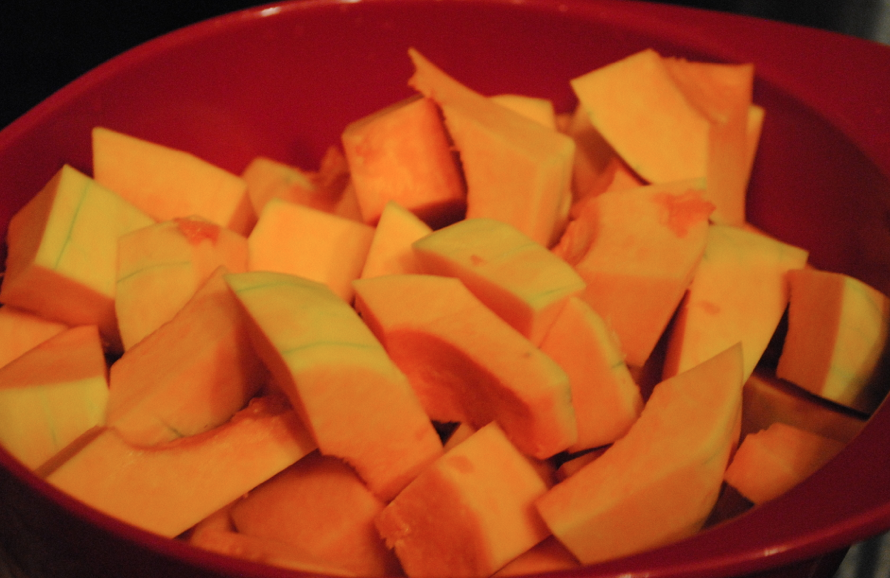
cut squash
Cut the squash into big chunks. Love the bright orange color. Kind of like the signature Hermes orange.
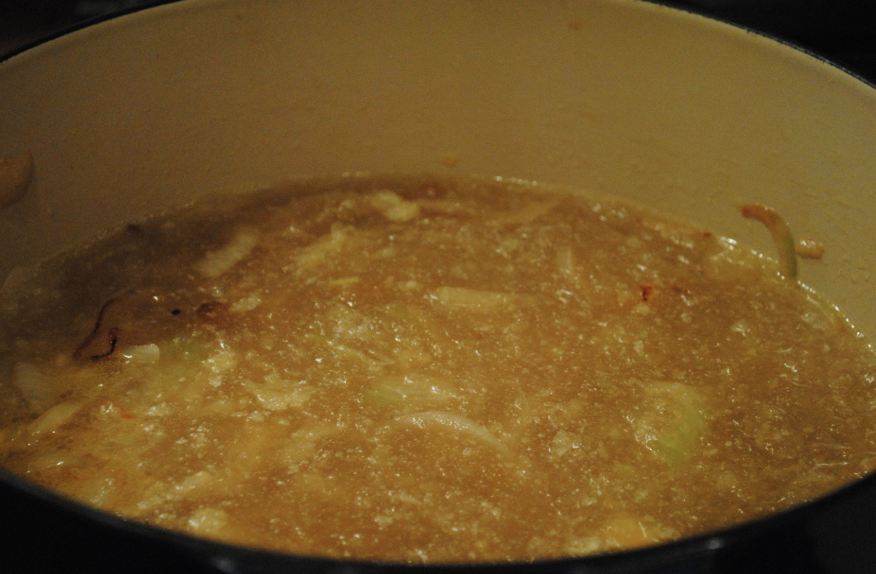
chicken broth
Pour chicken broth into the pot with the ginger and onions. We like to have homemade chicken stock frozen at all times. We tend to do this on weekends when making a dish with shredded chicken. Last week, we made kale chicken zucchini enchiladas. TO DIE FOR. And this chicken stock was from that chicken.
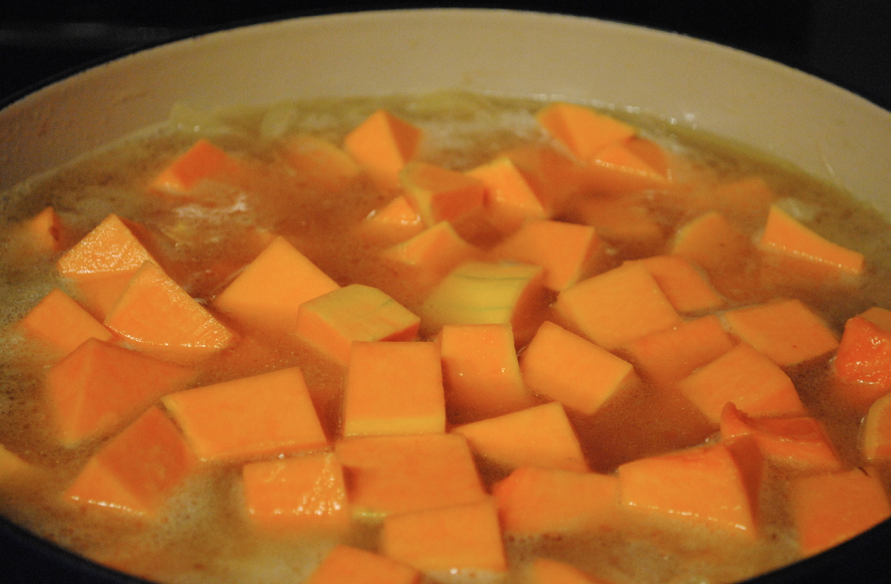
squashinbroth
Add the squash into the broth and let it sit all together until it boils.
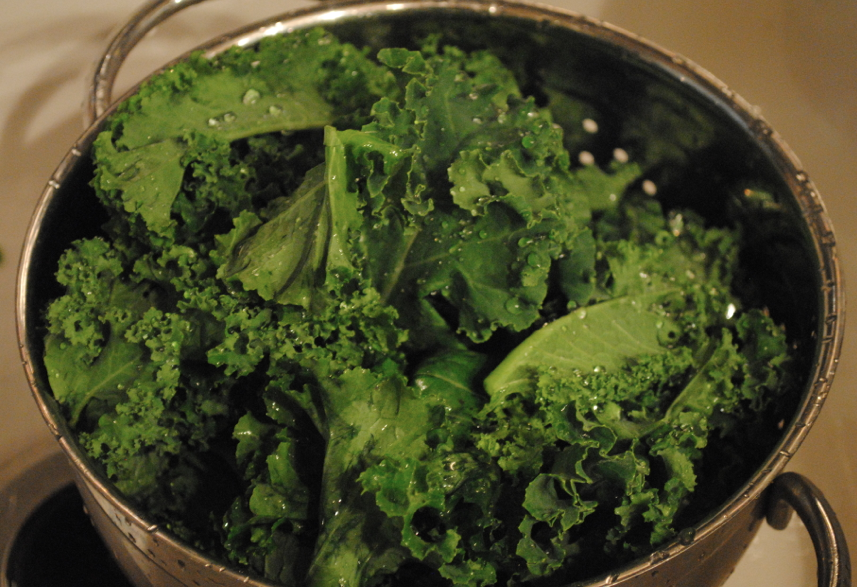
kale
Wash the kale and remove the leaves from the stems (discard the stems).
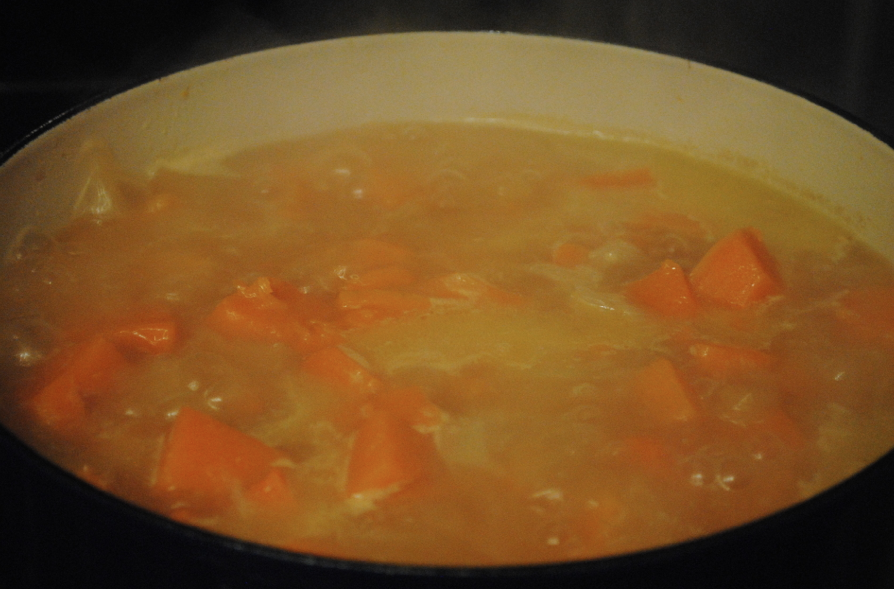
boiling
Boiling pot of gold.
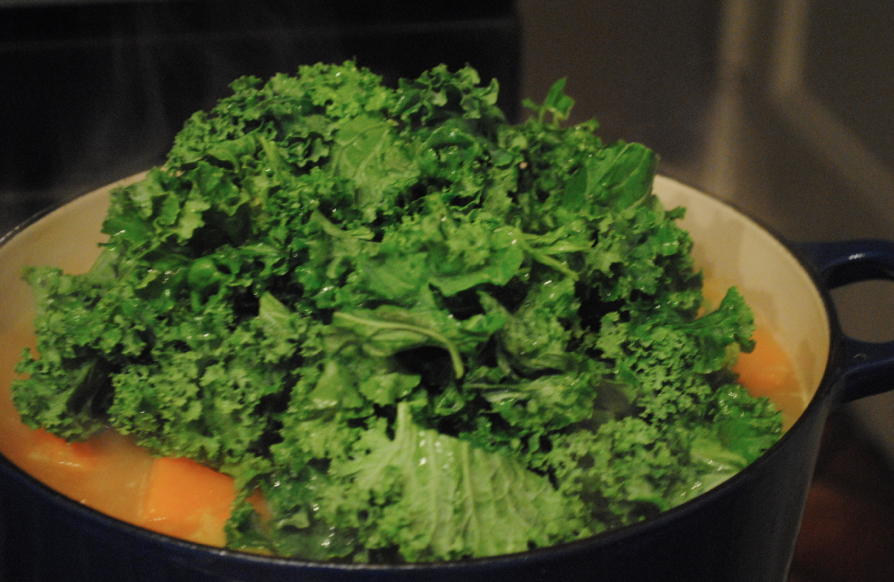
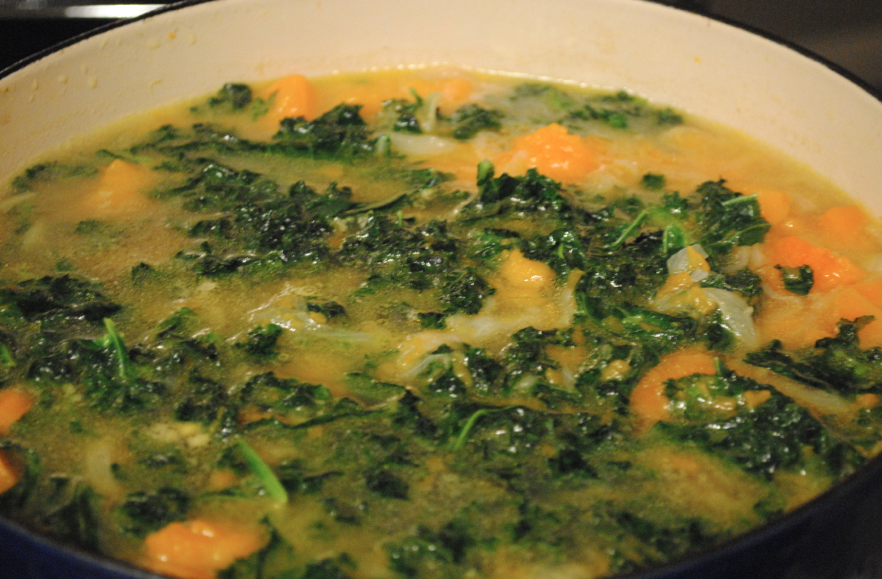
add kale
Add the large pile of kale to the soup. It looks like a lot -- it is a lot -- but it so so good for you that the more the better!
yummmmm
Yummmmm
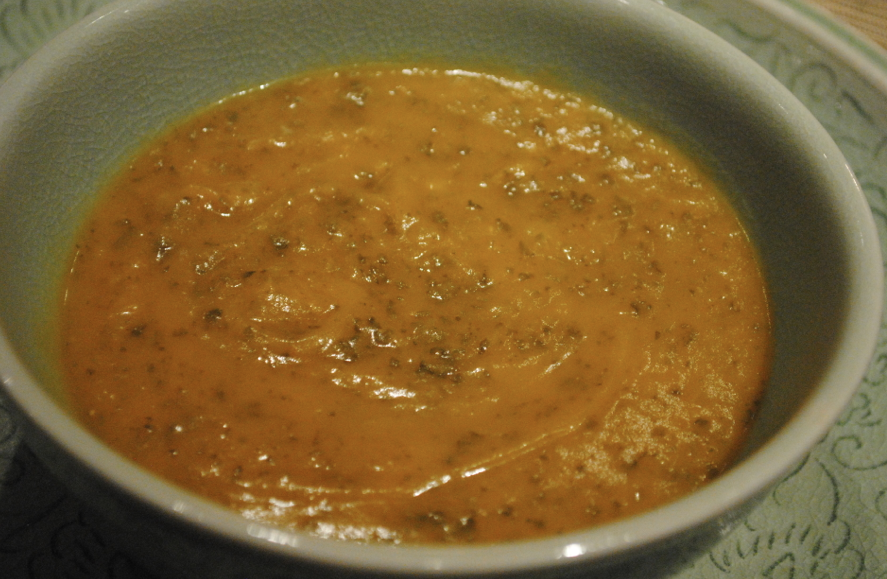
And then, put the mixture into a blender (vitamix), blend until it is all pureed together, and SERVE!
finished ORANGE GREEN GOODNESS!
This soup is great as is, or with some crumbled goat cheese. Serve as a main with salad (and a hunk of bread and cheese), or as a starter to a meal. Anyway, you can’t go wrong! Have a great weekend!

Lemon Ginger Tea

Ginger is known for its magical characteristics that make it a natural remedy for many ailments. It is well known as a remedy for travel sickness, nausea and indigestion (I chewed on ginger chews daily while pregnant to help curb my morning sickness). It is a warming remedy, ideal for boosting the circulation and lowering high blood pressure. Ginger is anti-viral and makes a warming cold and flu remedy.  Due to the spicy flavor and warming qualities of ginger, making a lemon ginger tea is perfect for a cold. Both lemons and ginger are high in vitamin C and together, they temporarily relieve sinus pressure, a burning sore throat, and can temper coughing.
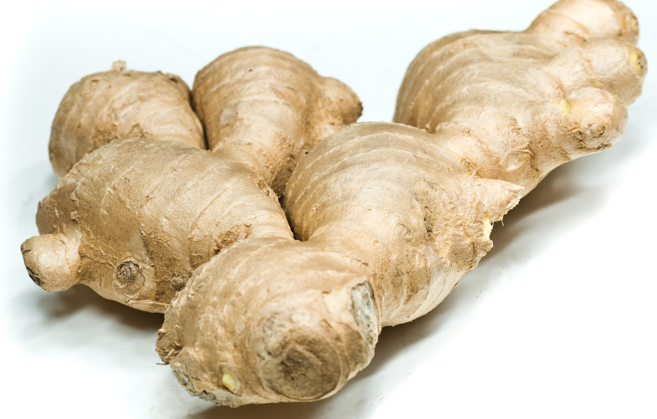
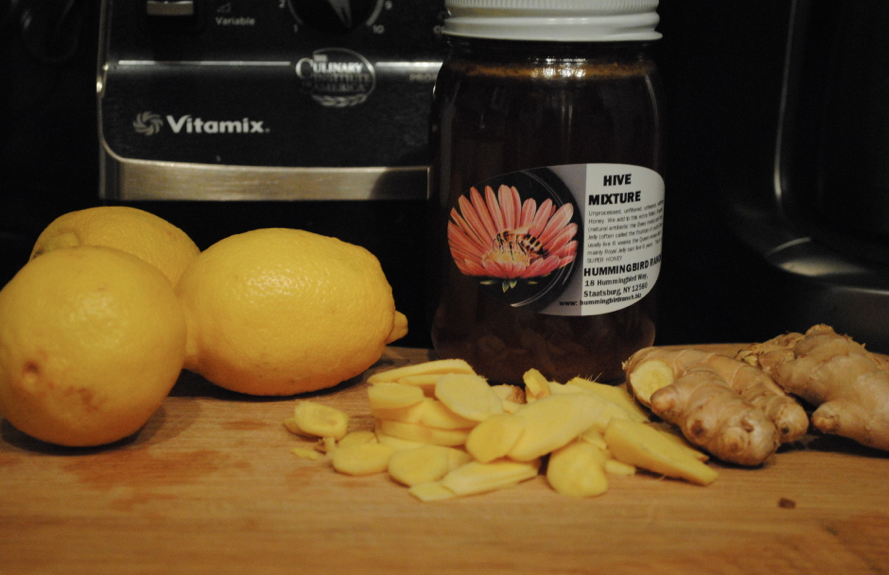
ginger
I happen to LOVE ginger. The spicy and dense flavor tastes good in sweet or savory foods!

Lemon ginger tea is super easy to make. It is like eating a head of kale; it just feels healthy and good.  There is also something calming and healing about the act of making a hot drink, too. It is like sitting next to a blazing fire with a good book.
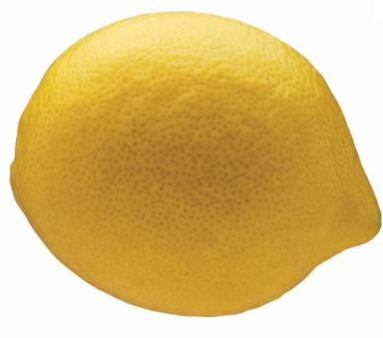
lemon
What did the lemon say to the lime? Sour you doing?

Ingredients to make a BIG POT of tea to drink A LOT of for SEVERAL DAYS:

ingredients
* juice from 3 lemons
* 1/2 cup of honey (more if you want sweeter, less if you want more tart)
* A pot full of water
* 1 peeled and sliced ginger root
Directions:
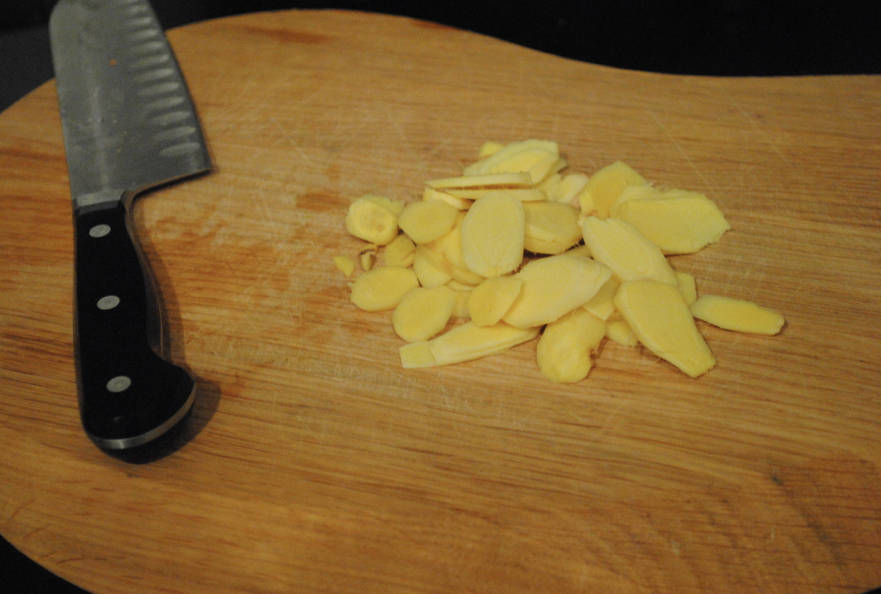
* Place the peeled and sliced ginger into a pot of water
chopped ginger
CHOP CHOP CHOP
* Add lemon juice and honey
* Boil all together for 30 minutes to an hour
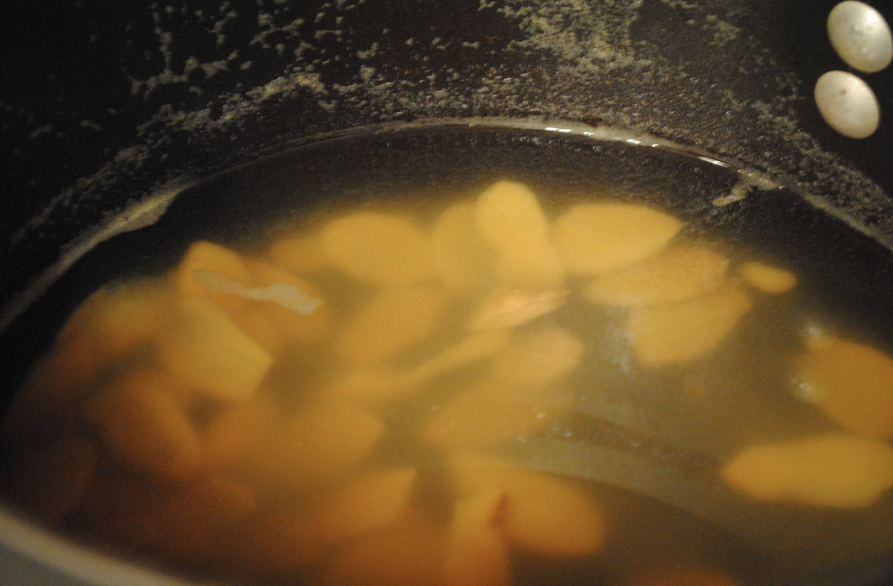
tea
Murky tea. You don't drink or eat the ginger.
* DRINK. I store the tea in the fridge and every time I need more, I simply refill my cup, microwave it and have fresh tea!

Wednesday, November 7, 2012

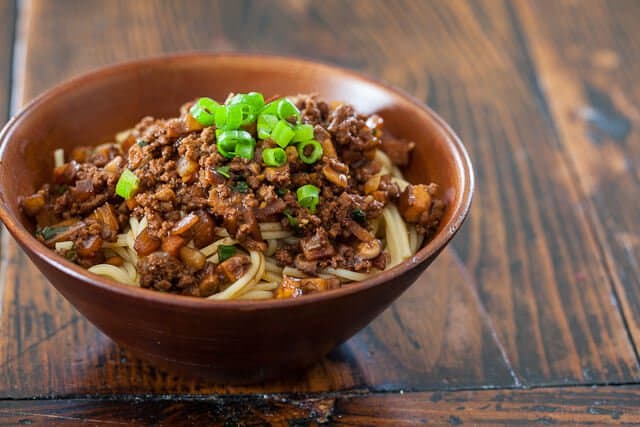
Taiwanese Noodles with Meat Sauce


taiwanese-noodle-recipe-8932.jpg

For Gluten free version - substitute the regular soy sauce with gluten-free soy sauce and substitute the dark soy sauce with gluten free oyster sauce (Lee Kum Kee Panda Brand)

Ingredients:

1 pound noodles or rice of your choice1/2 cup chicken broth2 tablespoons dark soy sauce (or oyster sauce)2 teaspoon light (regular) soy sauce1 teaspoon Chinese black vinegar (or young balsamic vinegar)1/2 teaspoon Chinese five-spice powder1 tablespoon brown sugar2 teaspoons cooking oil1/2 onion, chopped1 pound ground pork (or ground beef/chicken/turkey)2 cloves garlic, finely mincedOne 8-ounce can bamboo shoots, drained and diced4 ounces fresh shiitake mushrooms, diced1 stalk green onion, chopped

Directions:

1. Cook the noodles or rice according to package instructions. Drain.
2. In a small bowl, combine the chicken broth, dark soy sauce, regular soy sauce, vinegar, five spice powder and brown sugar. Set aside.
3. Heat a wok over medium-high heat. When hot, swirl in the cooking oil. Add in the onion and cook for 1 minute. Stir in the ground meat and cook for 2 minutes. Push aside the onion and ground beef to one side of the wok to create a small spot to fry the garlic. Add in the garlic and stir fry for a few seconds or until you begin smelling the garlic. Add in the bamboo shoots and mushrooms. Toss everything in the wok together.
4. Pour in the broth/soy sauce mixture and bring to a simmer. Cook for 2 minutes. Stir in the green onions. Serve the ground beef mixture over the noodles or rice.